How to change your config file
Your METAR map has a few options that you can change if you want to.
Here is the list of options that you can change at the moment:
- Brightness of the LEDs
- Colours of the LEDs
- Lightning being displayed
- How long the lightning will be displayed
- How often the map will refresh the METARs
- Whether to fade the METAR changes or not
- Whether you want Unknown METARs to show something or not
- High winds being displayed
- Wind speed to trigger the high winds
- How long the high winds will be displayed
- The sources that the map will look to for METARs
What you will need:
- Windows or Mac PC connected to the same network as your map
- Putty installed if using windows (https://www.putty.org/)
- The IP address of the Raspberry Pi your map uses. This is usually found on your WIFI routers settings page
Once you have all of these things you will need to connect to your maps Raspberry Pi by opening up Putty and typing the IP address into the field and pressing enter.
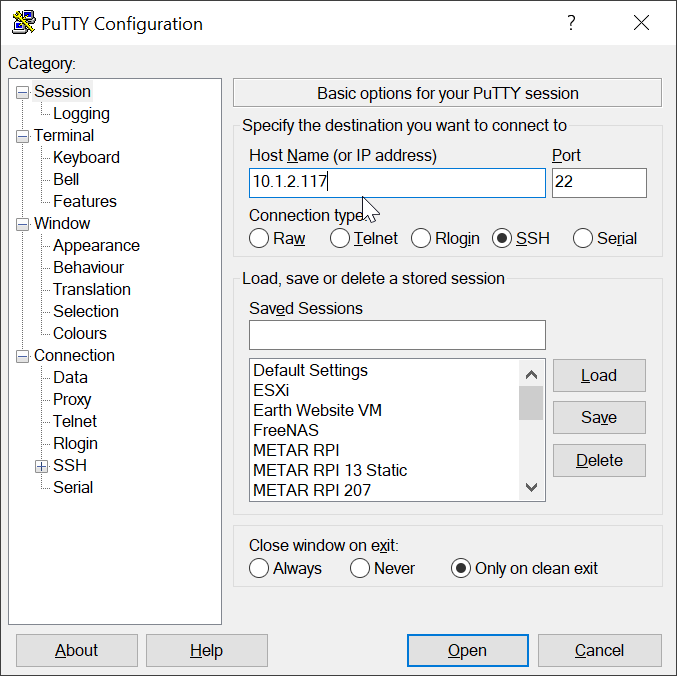
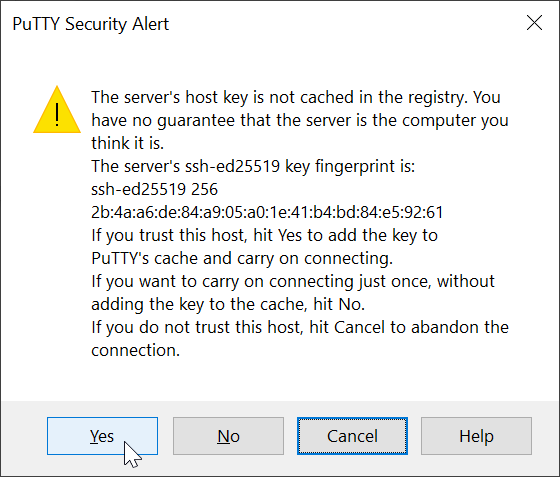
There may be a prompt that pops up. Just click ‘Yes’
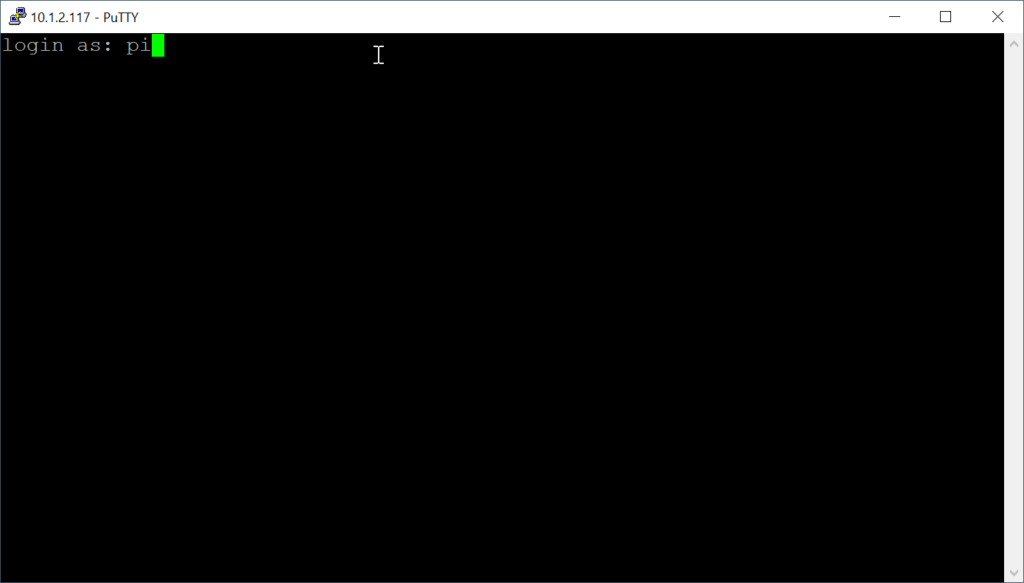
When it connects to the raspberry pi it should ask you for a username and password.
Username: pi
Password: raspberry
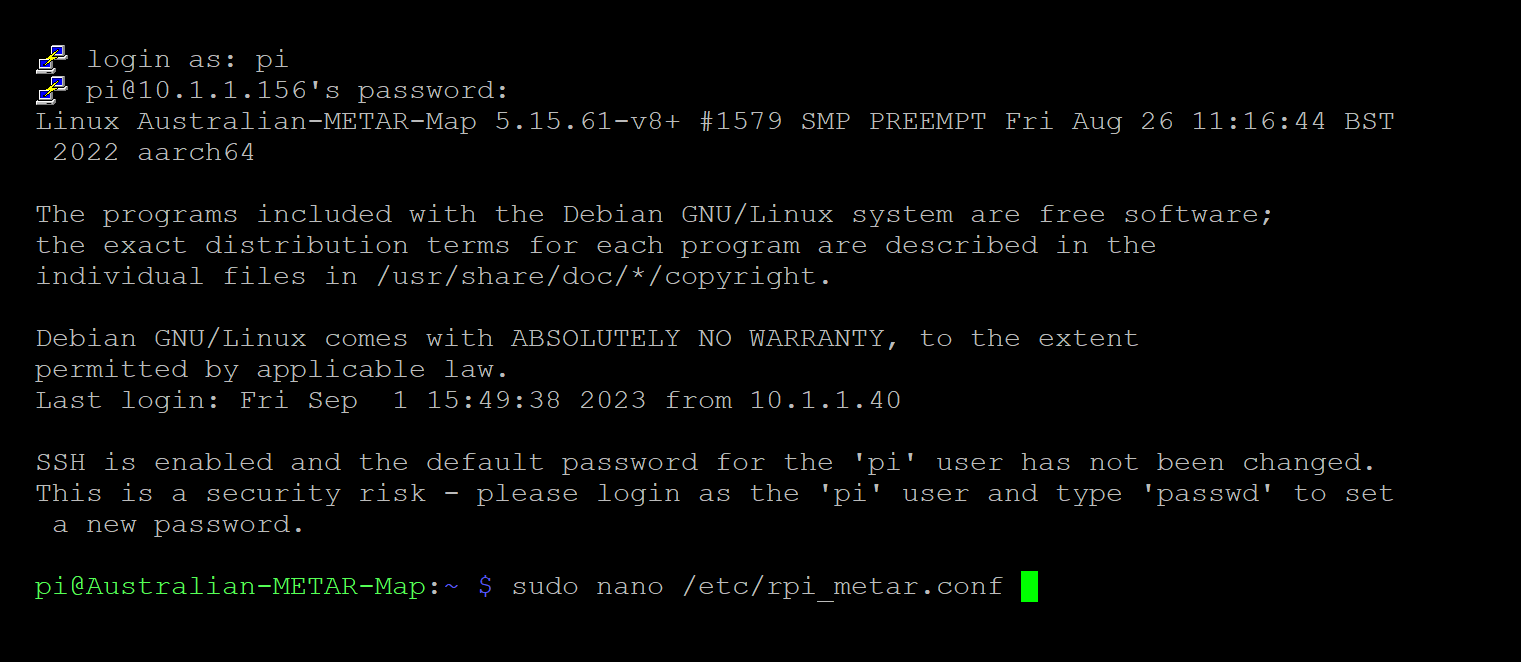
Once logged in you will need to type
sudo nano /etc/rpi_metar.conf
and press ENTER
You will now be in your config file.
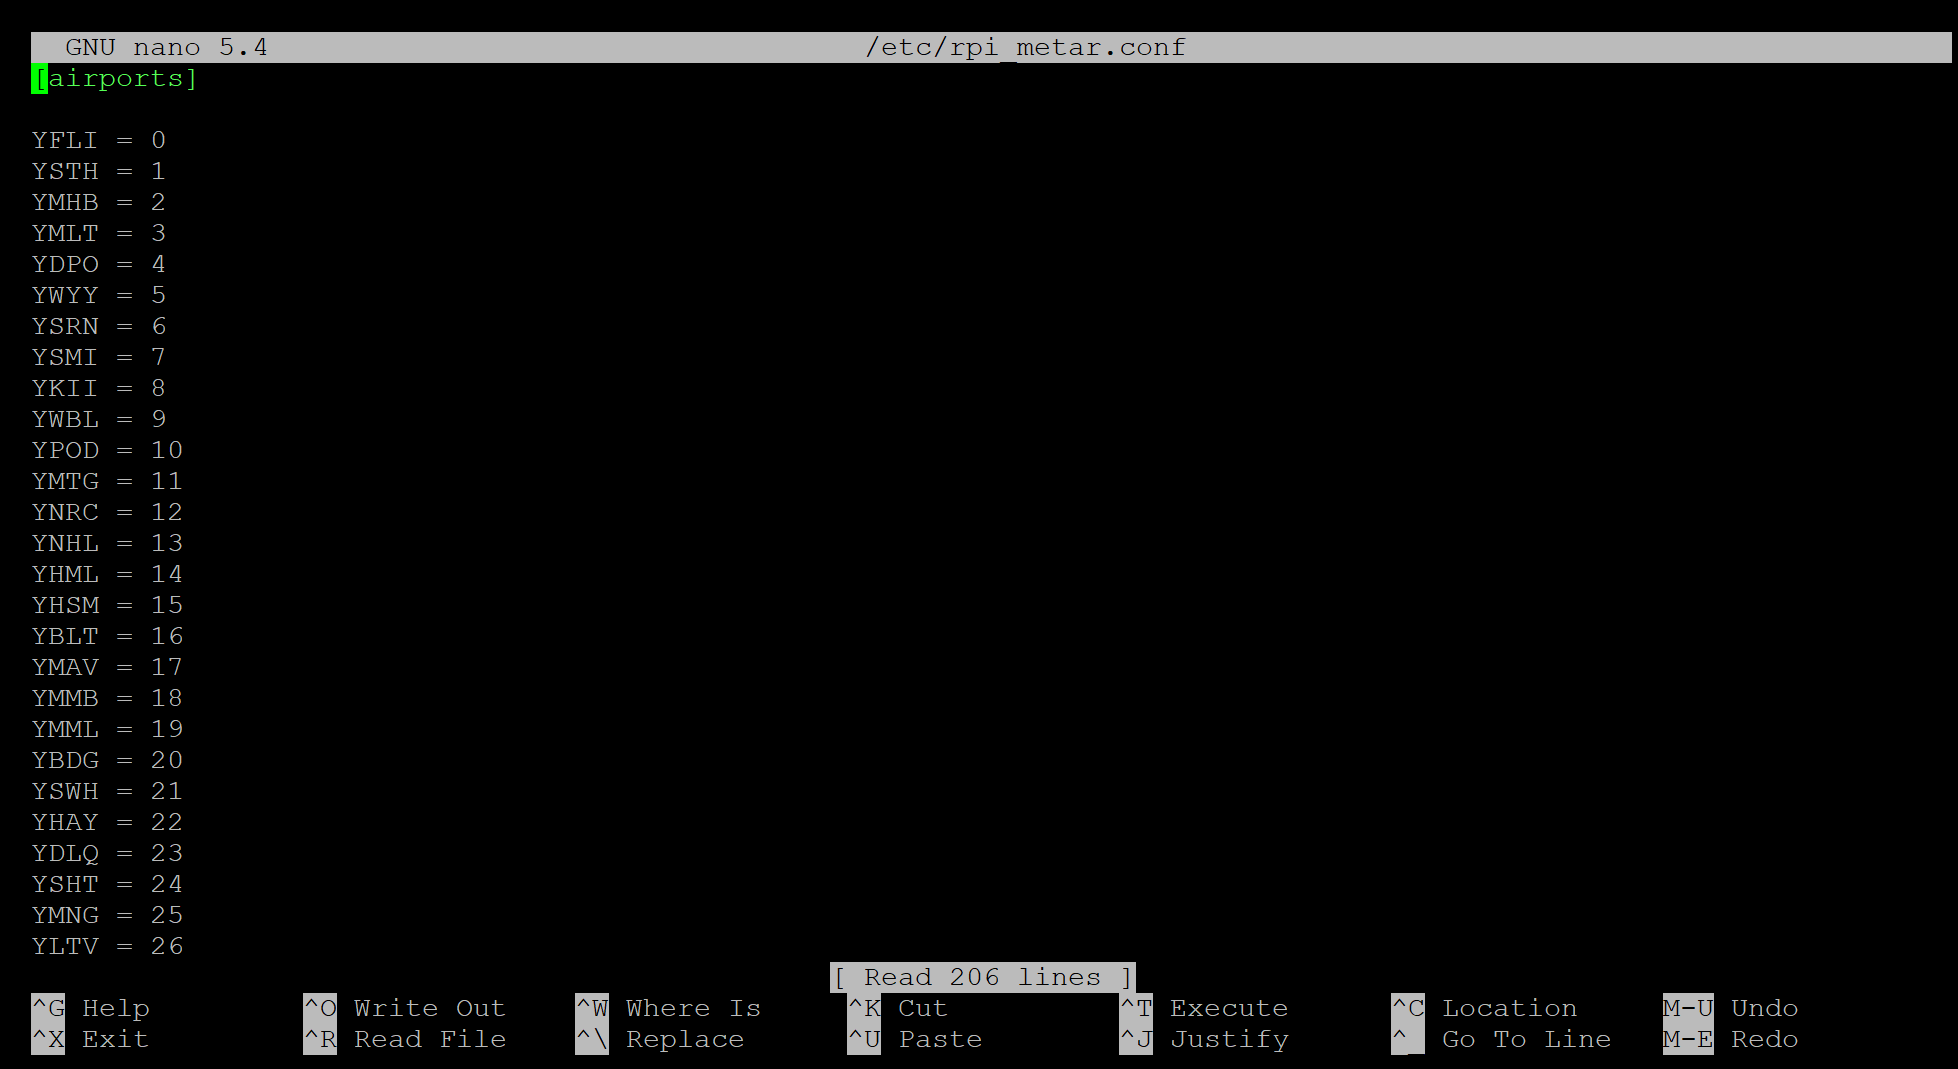
Scroll down with the arrow or page down keys to the bottom and you will see a section called settings and possibly 2 other sections called legend, colors or flight_categories.
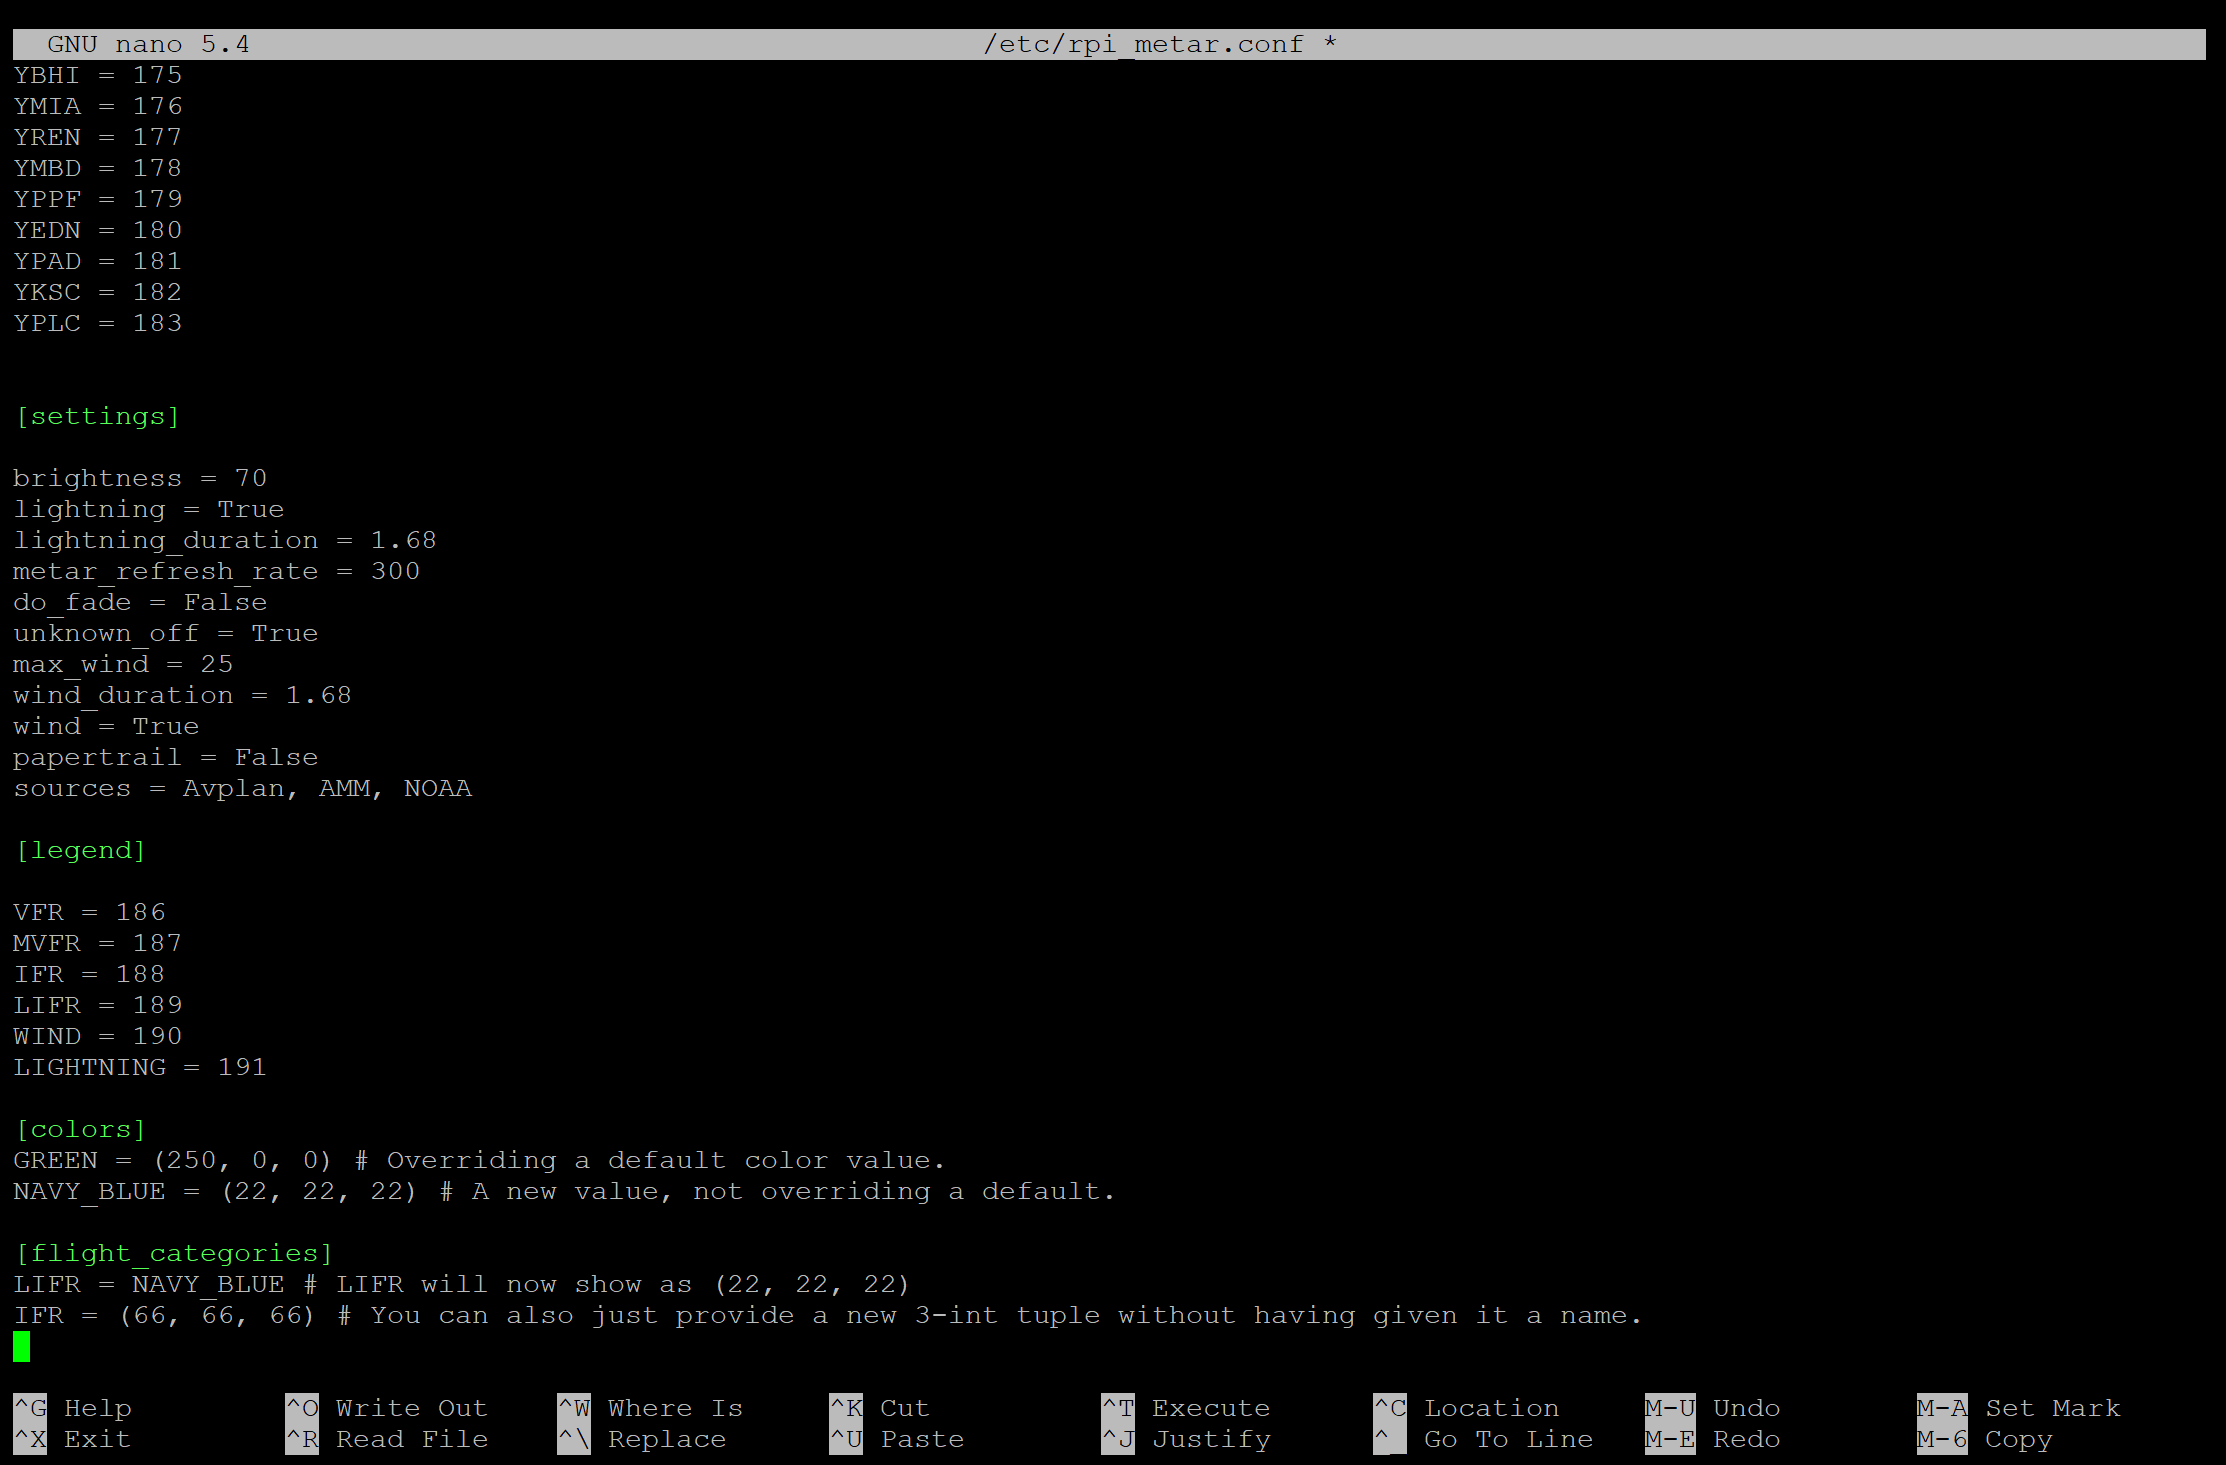
This is where you can change any of the options.
If you want to change the colours of the LED’s you can make the [flight_categories] section and below it is where you can make the changes just like in the above example.
If you want to make custom colours you would make the [colors] section and use GRB (Green, Red, Blue) as your guide. For example, full green is (255, 0, 0) and red is (0, 255, 0).
This can take a lot of trial and error to get perfect.
More info about the settings can be found here
https://github.com/thommo17/rpi_metar_au#configuration
When finished you can save the file by pressing CTRL+O and enter then CTRL+X
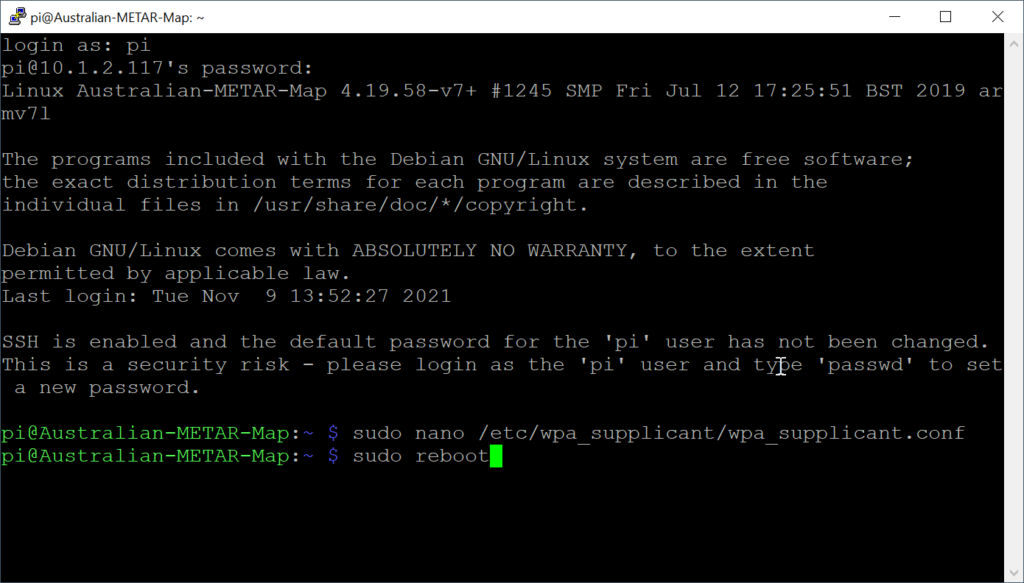
The changes will take effect on the next restart which you can do straight away with
sudo reboot
or to just restart the program and not the whole Raspberry Pi
sudo systemctl restart rpi_metar_au
That’s it. Your Map should now have the new config file programmed in and ready to go.
If you have any issues you can always ask me to help
